Authentication
Authenticating to the Decentralized Space and Time Network
Logging into a traditional centralized system usually involves submitting a username/password combination to a centralized authority, that will validate that combination and provide access. In a decentralized environment such as Space and Time, that central authority doesn't exist, so users must prove their access permissions with a more secure mechanism: Public/Private keypairs.
Workflow for authentication - APIs
Regardless of the application, authentication is centralized to a set of REST APIs. The workflow of Authentication, and links to the API call, are:
- User requests a challenge token from the network, which the network returns. For security purposes, the challenge token is only valid for 30 seconds.
- User signs the challenge token with their private key locally.
- User requests an access token using the signed challenge, which the network validates with the user's public key. If successful, the user will return both the access token, valid for 25 minutes, as well as a refresh token to quickly extend the session, which expires in 30 minutes.
- User can the access token to make requests (for example., run queries) for 25 minutes.
- After 25 minutes, the access token expires and the user can either:
- use the refresh token to extend the session and receive a new access token, or
- repeat the authentication workflow again, starting with step 1 above.
Some Space and Time Labs authored applications will perform the login sequence automatically, such as CLI, SDKs, JDBC, etc. Those apps requires a user's private key to sign the challenge token - however, that private key is NEVER transmitted and never leaves the laptop or server.
If you are using applications authored outside of Space and Time labs, be sure you understand the code or trust the author before entering your private key.
Authenticating with the CLI
The sxtcli completes all steps above in a single command, greatly simplifying the process of authenticating. The authentication command for the sxtcli is simply:
sxtcli authenticate login --url=$API_URL --userId=$USERID --publicKey=$USER_PUBLIC_KEY --privateKey=$USER_PRIVATE_KEY
Authenticating with JDBC
Similar to CLI, the JDBC driver will complete the API workflow automatically for you in the background, assuming you provide it the needed keys. To supply this key information in a secure way, the JDBC will re-purpose existing fields in the normal "Connection Configuration" screens, namely:
| Username | UserID for Space and Time Network |
| Password | Private Key corresponding to the above UserID |
| Driver Properties: "publicKey" | Public Key corresponding to the above UserID |
The public key must be added manually to the "Driver Property" section, with the name of "publicKey" (note the capitlization) and a value matching the user's public key. This is done because Driver Properties are normally visible / non-obscured, while the Password field is normally obscured.
If you prefer, you can also enter the UserID's private key into the "Driver Property" section, and leave the Password blank. Similar to above, the name is "privateKey" and the value is the key itself.
With those settings and a valid Space and Time User, you should be able to authenticate and begin running queries in your favorite JDBC SQL Editor or BI Tool.
Authenticating with Space and Time Studio (dapp)
The Space and Time Studio leverages a special Secrets Proxy that performs the authentication workflow for you automatically, if you register with Studio. The Secrets Proxy acts as a centralized authority for those organizations that don't care about decentralization, or who do and want to run their own Secrets Proxy to make a more convenient login experience for their users.
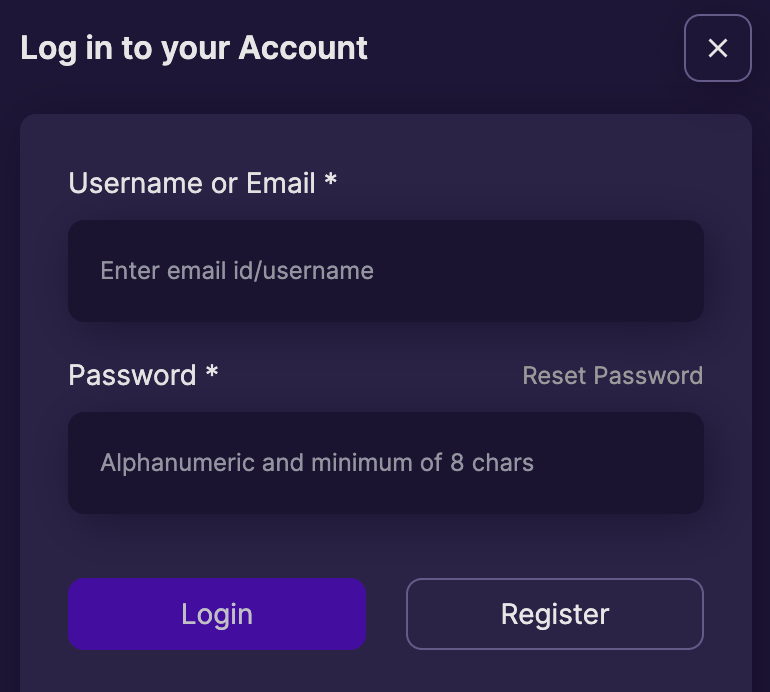
To authenticate to Space and Time Studio, you simply need to register a traditional UserID and Password combination.
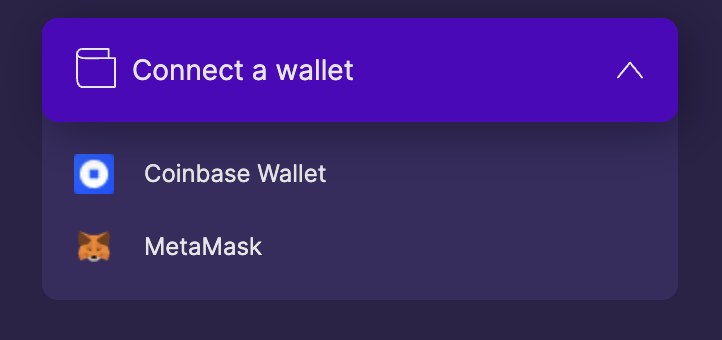
Alternatively, you can also use an Ethereum wallet to authenticate - this combines the ease of one-click authentication with full keypair authentication by using your wallet to complete the authentication workflow.
If you have an existing UserID that you would like to associate with a wallet, read up on connecting an existing UserID to a wallet.
Updated over 1 year ago