Login to Studio with existing UserID
How to login to the Space and Time dapp with an existing user ID
If you're an enterprise customer that set up your user ID through an API or JDBC call and want to use the same user ID to access the Space and Time Studio dapp, you'll need to walk through the following steps.
How authentication works (and why it's needed)
As existing users will know, securely logging into Space and Time requires a widely-used public/private keypair cryptography, which involves signing a challenge token with your private key, so that upon return the network validates your user ID using the stored public key. This works the same across API requests, CLI commands, or JDBC connections, although the latter two will take care of this sequence for you invisibly. See the Security and Auth section for full details.
The important point here is: your private key is required to sign the challenge request, but never leaves your computer. When working with web applications (like the Space and Time Studio), this means your private key is both (a) required by the web app to sign the challenge token, but (b) should never be transmitted to the web app, for security purposes. The way around this is a browser plugin to do the signing locally on behalf of the web app, thus validating the browser without sending private keys.
Enter Web3 wallet plugins: the Space and Time Studio can leverage third party, local wallet signature functionality in wallets like Metamask, Coinbase, etc. to perform that signature validation, thus providing both ease of connection along with strong security. To make this work, you only need associate your wallet address with your Space and Time user ID.
Never send your private key to anyone. The CLI will occasionally need your private key to sign challenge requests, i.e., during authentication. The CLI will never transmit private keys.
To connect your Space and Time user ID to your wallet:
Space and Time can associate many public keys to a single user ID. By adding your wallet public key to your Space and Time user ID, it allows you to login to Space and Time using a Web3 wallet.
Prerequisites
The below steps can all be done by calling APIs directly, however, it is highly recommended you use the Space and Time CLI, as it significantly simplifies the process. The instructions below assume you have the CLI, have aliased the CLI to sxtcli and use environment variables rather than hard-coded values (i.e., $USERID) - however, the commands will work with any CLI alias and hard-coded values.
Add your wallet's public key to your Space and Time user ID's keychain:
- Make sure you're using a Space and Time integrated wallet
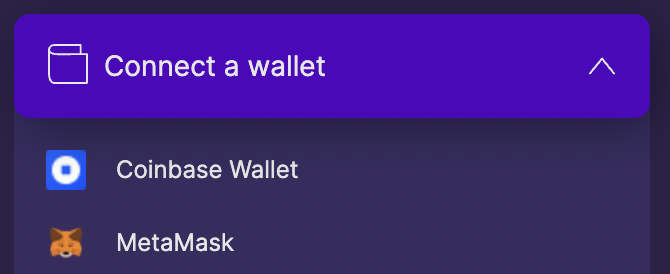
The dapp will continue to add wallets over time, so the safest way is to open the dapp, click on the "Sign In" button on the upper right, then "Connect a Wallet" and validate you are using one of those in the list.
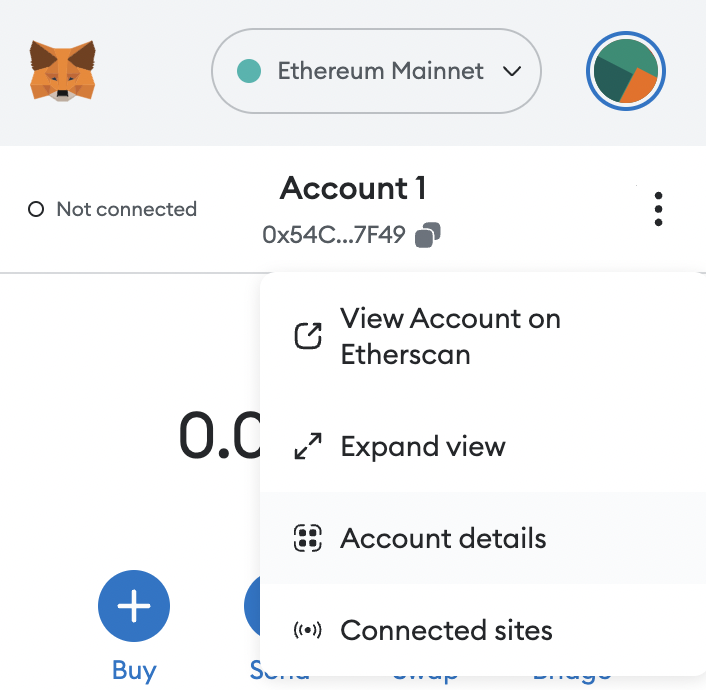
- Export your wallet's public/private keypair, the exact steps of which differs depending on the wallet. As an example, Metamask browser extension will provide your private key by opening the interface, clicking on the three-dot menu on the right, selecting "Account details" and "Export private key". The public key is simply your wallet address.
-
Authenticate to the Space and Time network using your pre-existing user ID public/private key, as per normal - do NOT use your wallet keys here. By authenticating with your original keys and getting the Access Token, you prove you control that user ID and are allowed to make changes/additions.
The remaining examples assume you've saved the Access Token produced below into an environment variable named
TOKEN
sxtcli authenticate login --url=$API_URL --userId=$USERID --publicKey=$USER_PUBLIC_KEY --privateKey=$USER_PRIVATE_KEY
- Confirm current keys in your keychain by running the below CLI command. This should return a list of your current keys, which is important to verify the new key was added.
sxtcli authenticate keychain --accessToken=$TOKEN --url=$API_URL get
- Add your wallet key to your keychain by issuing the below CLI command. You will need to supply the correct Chain ID to the
schemeparameter, to indicate what chain your wallet resides on. The example below shows--scheme=1which correlates to Ethereum mainnet.
sxtcli authenticate keychain --accessToken=$TOKEN --url=$API_URL add --privateKey=$WALLET_PRIVATE_KEY --publicKey=$WALLET_PUBLIC_KEY --scheme=1
You should see the confirmation: key added to keychain - congrats! You have just associated your wallet address to your Space and Time enterprise user ID. You can confirm the new key was added by re-running step 4 above, and noting the additional key.
The next time you log into the Space and Time Studio, you can login with your wallet and have it use your existing user ID, including access to all permissioned/personal tables.
Updated over 1 year ago